Showing posts with label sewing. Show all posts

August 11, 2012

Making pillowcases

To make pillowcases you will need...
cloth 60" length and 38" wide
a printed cloth 60" length and 4" wide
Scissors
Sewing machine

September 28, 2011

Fabric painting yo yos for a plain shirt


You will need...
fabric yo yos
fabric paint
paint brush
water

Here is a link on how to make fabric yo yos.

Paint the fabric yo yos with fabric paint to dress up a simple shirt. It is easier to carefully paint inside the yo yo with a paint brush. If needed dilute the paint with a little water.


All rights reserved on photographs and written content Createwithmom © 2011. Please Ask First

August 18, 2011

How to sew a fabric yo yo


Fabric yo yos are decorative and simple to make, once you know how you will love to put it on to everything :)

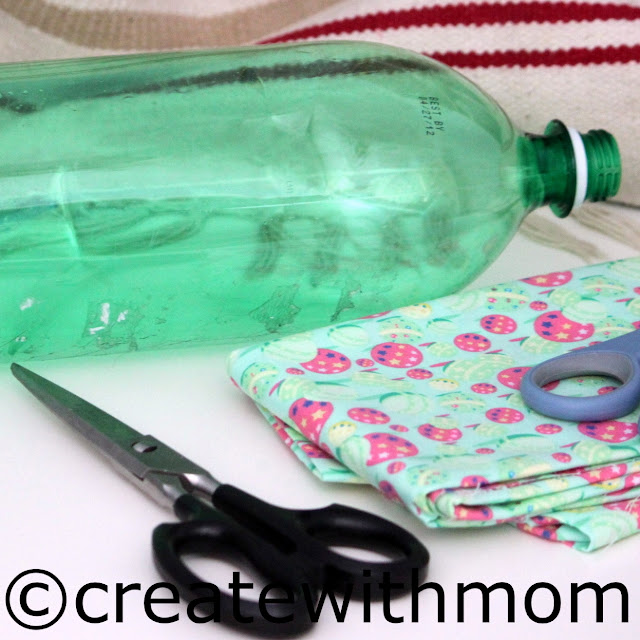
Cut the cloth into a circle any preferred size. The final product will be about half the diameter of the initial circle. Can keep a round shape object, draw and cut.


Fold and sew a running stitch by folding a little or leaving it as is. Folding will give a clean stitch.


Keeping the finger in the middle pull the thread slowly and tighten it. And then stitch to the back so it doesn't unravel.


All rights reserved on photographs and written content Createwithmom © 2011. Please Ask First

August 15, 2011

Summer dress


I used an elastic pre smocked or shirred cloth.
It is sold with the top already shirred like this to make dresses and tube tops. If this is not available, there is an option that I haven't tried which is to use elastic thread in the bobbin and make your own shirred cloth.


All we have to do is stitch the sides. To make straps use a piece from the bottom of the dress.
Attach the straps to the front of the dress so it can be tied to the back of the neck. Or straps can be stitched to the front and back so it could be tied above the shoulders. Hem the bottom to desired length.

All rights reserved on photographs and written content Createwithmom © 2011. Please Ask First

August 14, 2011

Recycled bottles to keep crayon

Recycled bottles to keep crayon
A perfect way to recycle and reuse containers that are very useful around the house. We made a place to keep crayons. This activity can be done with any other type of container or tin. 

2 litre pop bottle
bias tape or cloth
glue
white out or chalk ink
scissors
Recycled bottles to keep crayon
Poke a hole then using a sharp scissor with a help of an adult cut the bottle, cut at any point depending on how deep you want the final product to be. Don't use the scissors that are used for cutting cloth.
Recycled bottles to keep crayon
Measure the diameter of the bottle then cut a piece of cloth with 1 1/2" width and use as bias tape or use a store bias tape. Cut the bias tape at least 1/2" more so it would over lap.
Recycled bottles to keep crayon
Use glue and paste the bias tape around the bottle. This is decorative and also prevents cuts when putting the hand into the bottle. Can use liquid paper or chalk ink pens to decorate the outside of the container.
Recycled bottles to keep crayon
All rights reserved on photographs and written content Createwithmom © 2011. Please Ask First

July 30, 2011

Cushion covers

These cushion covers will take less than 10 minutes to make.


outdoor or drapery material
scissors
thread
ruler or measuring tape
buttons optional

Measure the size of the cushion then fold the cloth according to the diagram below and cut the cloth.

I didn't put the exact measurements because the same method can be used for any size cushion or pillow.
Measure the cushion then fold the cloth and cut the three sides, when cutting make sure that one of the side is at least 3" longer so this piece can be tucked in and optionally buttons can be stitched. The above diagram will help when cutting and stitching.


For this project I used outdoor material from a fabric store and the cushion inside was pre made. The same method can also be used to make cushions and put filling in it, if you want to put filling there is no need to keep that extra length on one of the sides. Instead stitch all the sides.

Happy sewing :)


All rights reserved on photographs and written content Createwithmom © 2011. Please Ask First