Showing posts with label diy. Show all posts

November 28, 2011

Cake boards


It is easy to make these cake boards which can be reused or tossed away after using.

All you need...
heavy cardboard from boxes
aluminum foil

I cut heavy cardboard from boxes and covered it with aluminum foil. It can be cut into any desired shape.
A cake I made using an homemade cake board.

All rights reserved on photographs and written content Createwithmom © 2011. Please Ask First

September 10, 2011

Flower chains to celebrate with


straws cut into 2"
twine thread
shapes of flowers in different colours cut from printer paper
thick embroidery needle

Use the needle and thread the twine. This needle is safer because it is not sharp. Thread the straw and flowers to any length that will be easier to put and remove ones it is tied around the neck.


All rights reserved on photographs and written content Createwithmom © 2011. Please Ask First

August 14, 2011

Recycled bottles to keep crayon

Recycled bottles to keep crayon
A perfect way to recycle and reuse containers that are very useful around the house. We made a place to keep crayons. This activity can be done with any other type of container or tin. 

2 litre pop bottle
bias tape or cloth
glue
white out or chalk ink
scissors
Recycled bottles to keep crayon
Poke a hole then using a sharp scissor with a help of an adult cut the bottle, cut at any point depending on how deep you want the final product to be. Don't use the scissors that are used for cutting cloth.
Recycled bottles to keep crayon
Measure the diameter of the bottle then cut a piece of cloth with 1 1/2" width and use as bias tape or use a store bias tape. Cut the bias tape at least 1/2" more so it would over lap.
Recycled bottles to keep crayon
Use glue and paste the bias tape around the bottle. This is decorative and also prevents cuts when putting the hand into the bottle. Can use liquid paper or chalk ink pens to decorate the outside of the container.
Recycled bottles to keep crayon
All rights reserved on photographs and written content Createwithmom © 2011. Please Ask First

July 30, 2011

Cushion covers

These cushion covers will take less than 10 minutes to make.


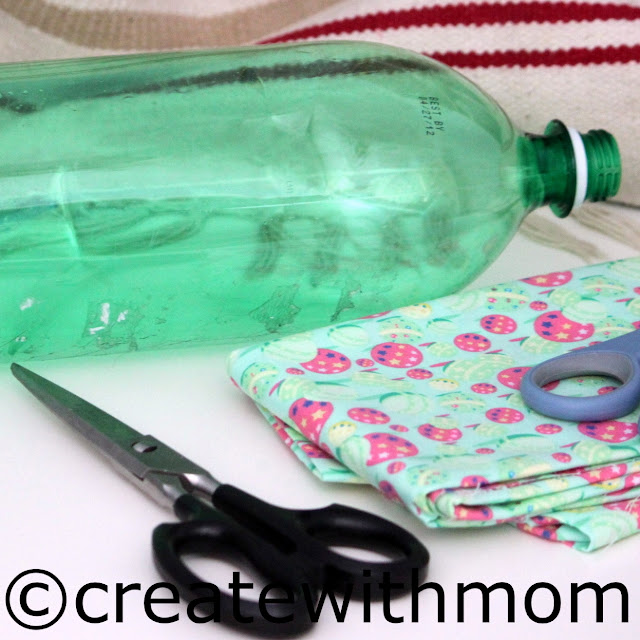
outdoor or drapery material
scissors
thread
ruler or measuring tape
buttons optional

Measure the size of the cushion then fold the cloth according to the diagram below and cut the cloth.

I didn't put the exact measurements because the same method can be used for any size cushion or pillow.
Measure the cushion then fold the cloth and cut the three sides, when cutting make sure that one of the side is at least 3" longer so this piece can be tucked in and optionally buttons can be stitched. The above diagram will help when cutting and stitching.


For this project I used outdoor material from a fabric store and the cushion inside was pre made. The same method can also be used to make cushions and put filling in it, if you want to put filling there is no need to keep that extra length on one of the sides. Instead stitch all the sides.

Happy sewing :)


All rights reserved on photographs and written content Createwithmom © 2011. Please Ask First