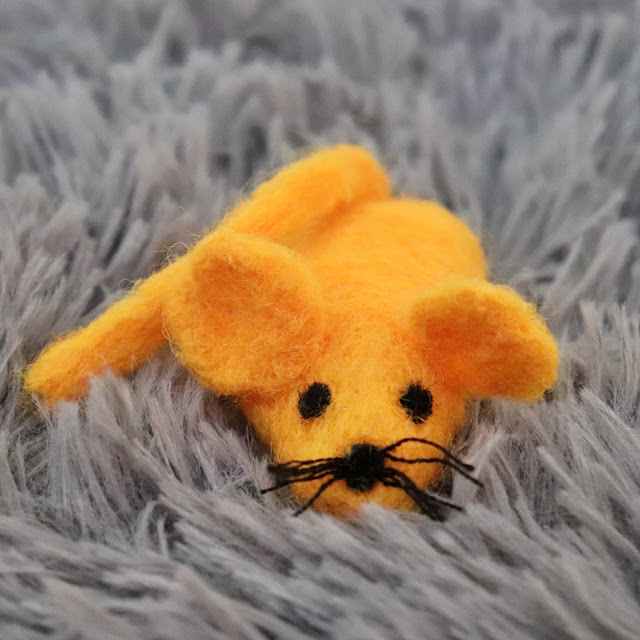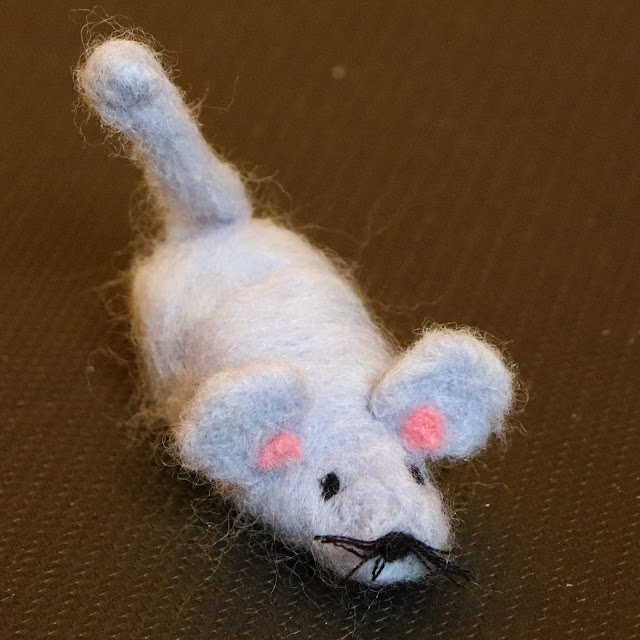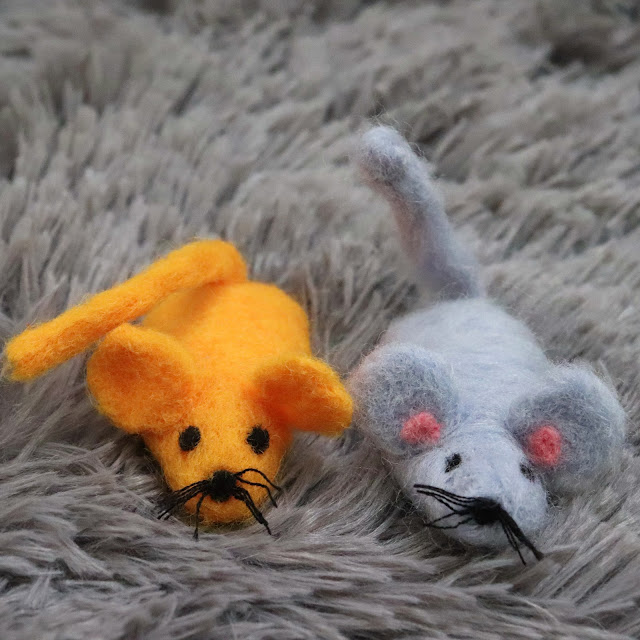
Making our own soft, fuzzy animals with the felting method is fun to do. To start doing felting, you only need a few materials; felting needle, wool, and a foam pad. If you want to learn this craft and invest on a few material, look for a kit at a craft store or on Amazon. There is also Klutz kits that teaches felting.

For this project you will need...
wool roving
foam block
felting tool
leather finger covers optional
When using the felting tool, make sure to poke in and out in the same direction or it would break the tool. When poking make sure to pay attention and keep fingers away from the tool. Keep the foam block in a flat surface.

Roll the wool into a loose oval and place it on the foam block. Poke it carefully with the felting tool to shape it into a round egg shape for the mouse's body and face.
Tear off 4 inches of wool for the tail. Roll the wool to make a tail and leave one end of the tail loose to help when attaching to the wide end of the oval. Attach the tail to the body and poke it to attach.
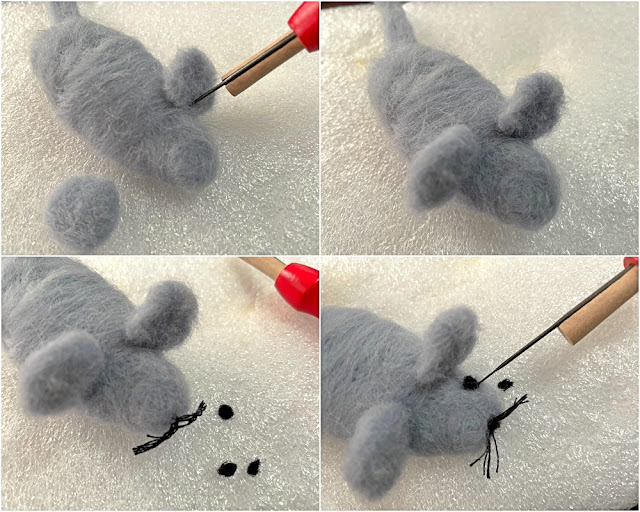
Take 2 inches of wool for each ear and form it into a 2D flat circle shape. Attach the ears one inch from the mouse's nose and carefully poke the bottom edge of the ear into the head of the mouse and attach it. Place the other ear half an inch from the other ear.

Use either wool or black embroidery thread and attach the whiskers. Roll a small pinch of black wool for the nose and attach it to the centre that holds the thread.
Roll a pinch of black wool into two small balls and place one eye on both sides of the mouse's head halfway between the nose and ear. Poke into the centre of the eye a few times to attach it.
Please note that all opinions and thoughts expressed are my own. All rights reserved on photographs and written content Createwithmom © 2010 - 2022. Please Ask First


No comments:
Post a Comment
Thank you for commenting :)